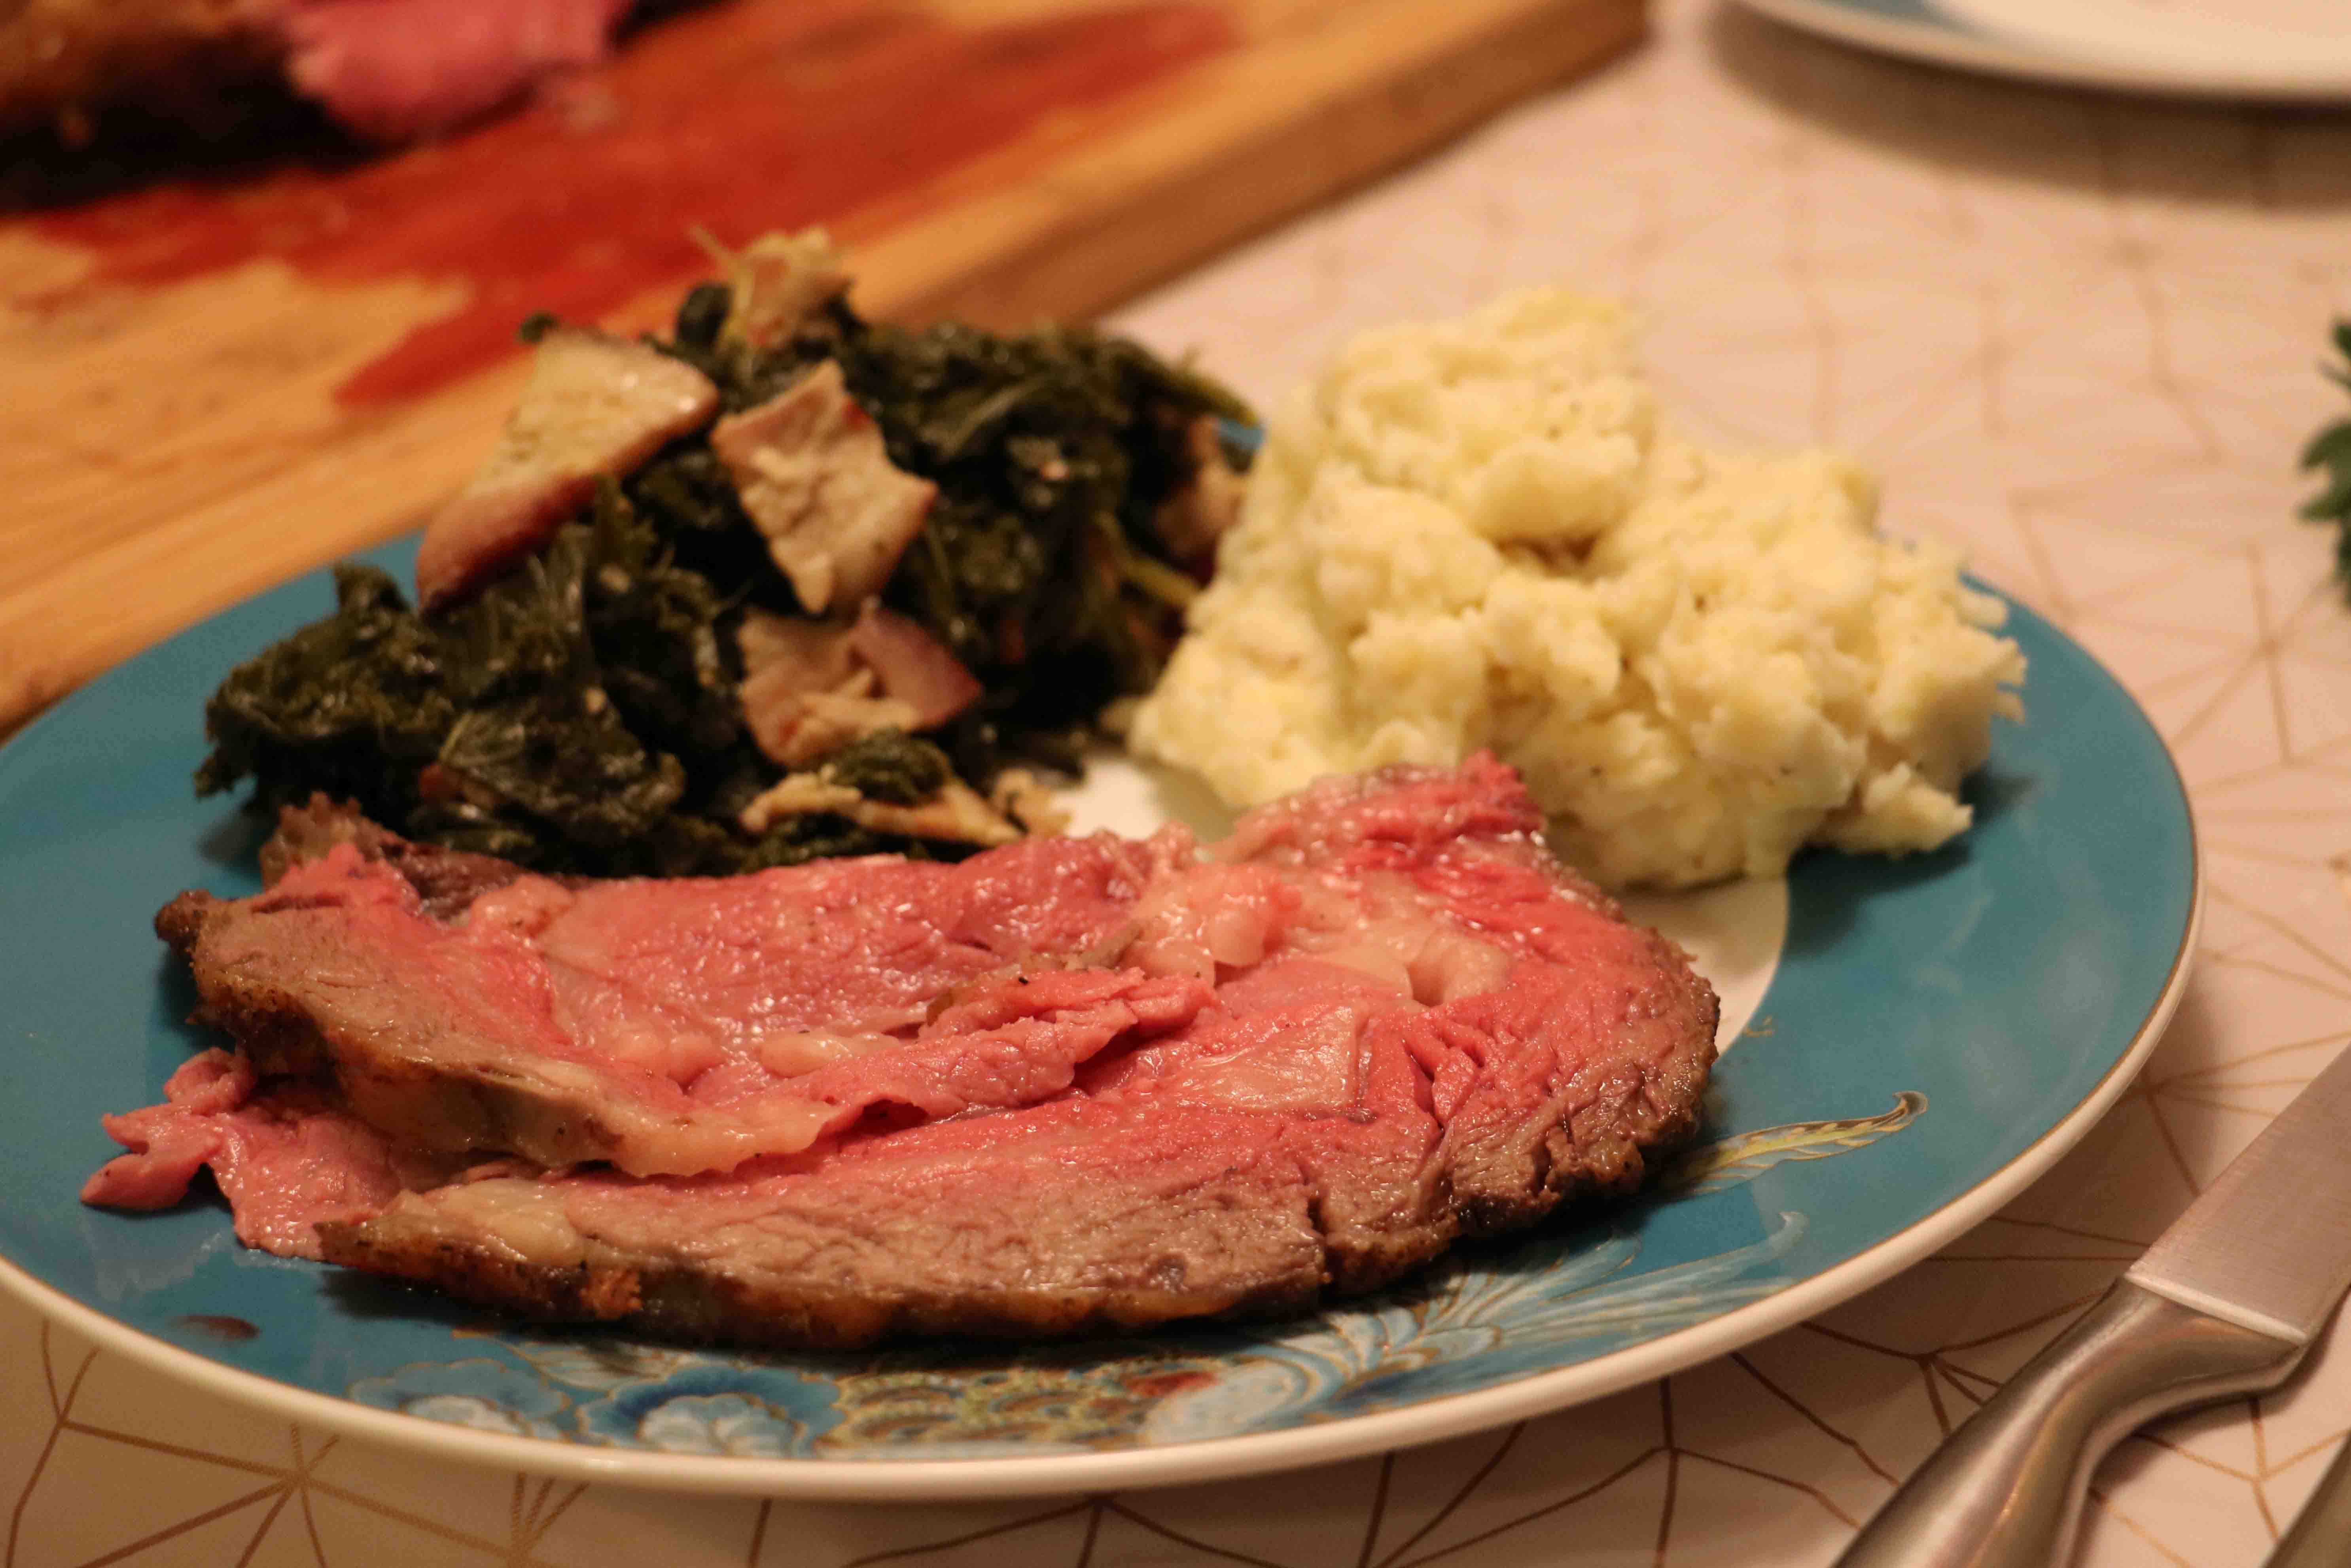
It’s that time of year again—time to gather with your family, then realize why you only see these people a few times a year. Whether you’ve got to change the subject when your racist uncle brings up Trump and his wall or you’re deflecting the inevitable questions from your parents about when you’ll meet “the one” and make them grandparents, boy howdy, the holidays are stressful. Why continue the current tradition when you can create your own? That’s what being a grown-up is all about. From this article, you’ll get the hook-up to make your own perfect holiday meal that will entice the people you truly want to see around the table.
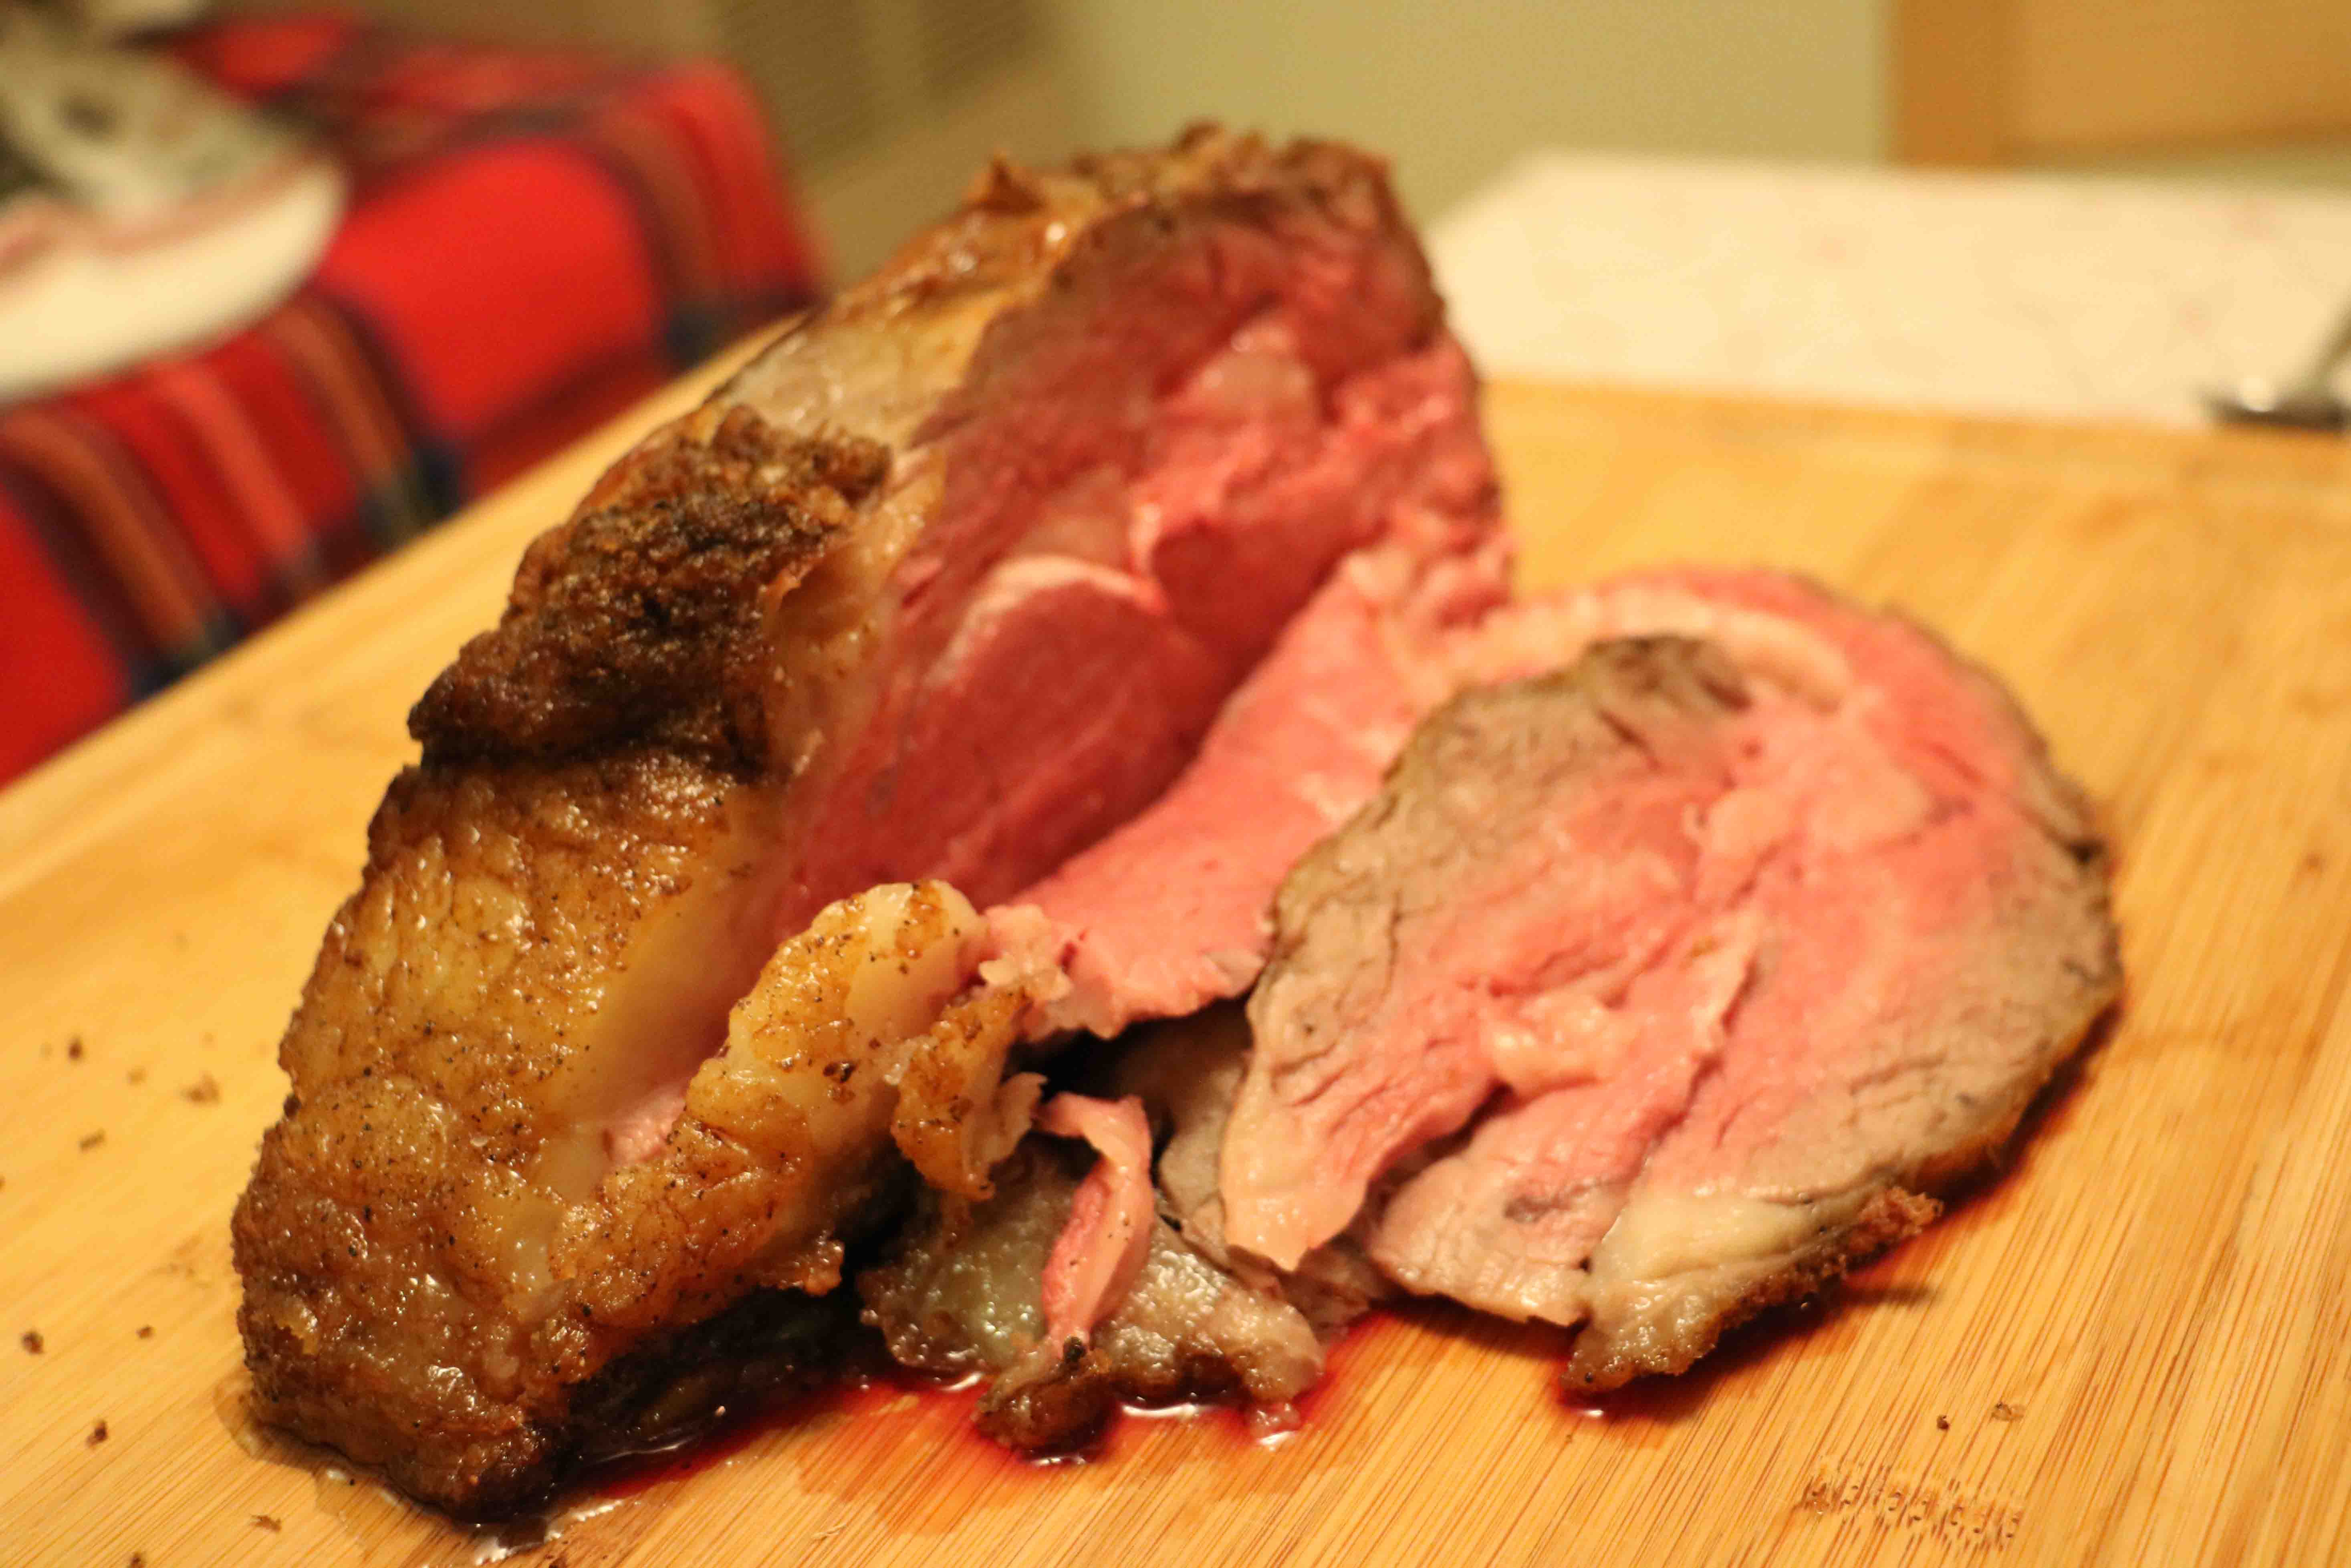
Perfect Prime Rib Roast
I know what you’re thinking, “Where’s the turkey?” Well, guess what, turkey is overdone (like it normally is). But prime rib? Prime rib is the king of roasts, and if one Vanguard guest columnist suggests that livestock contribute to global warming—why not get them before they get us, right? So, how do you cook the king of all roasts? We reverse sear it (I know it sounds like an oxymoron, but keep following me). Here’s what you will need:
-1 prime rib roast, bone in (3/4 pound per guest, so anywhere between 3–5 pounds)
-Kosher salt
-Fresh ground black pepper
-Roasting pan with rack
-Probe thermometer (the kind that you can insert into the roast while it is in the oven)
-Tin foil
1. Before you start, make sure your roast is at room temperature, so bring the roast out of the fridge at least two hours before roasting. Preheat the oven to 250 degrees F.
2. Liberally season the roast with salt and pepper. You want to build a crust on this piece of meat, but don’t turn it into a salt lick.
3. Place the roast in the roasting pan with the fat cap sitting vertically. Insert the thermometer probe into the center of your roast.
4. Set the roast in the oven and set your thermometer reader to go off at either 120 degrees (for medium rare) or 130 degrees (for medium). This will take anywhere from 3 to 4 hours.
5. Once your thermometer reads at your desired temperature, take the roast out of the oven, tent it with tin foil and let it rest for at least 30 minutes. Now turn your oven all the way up to 500–550 degrees.
6. About 10 to 15 minutes before you and your guests are ready to eat, put your roast back in the oven, sans tin foil, for 10–15 minutes. This will give you that delectable brown crust and perfect pink center.
7. Slice 1/2–3/4 pound slice for each guest and enjoy!
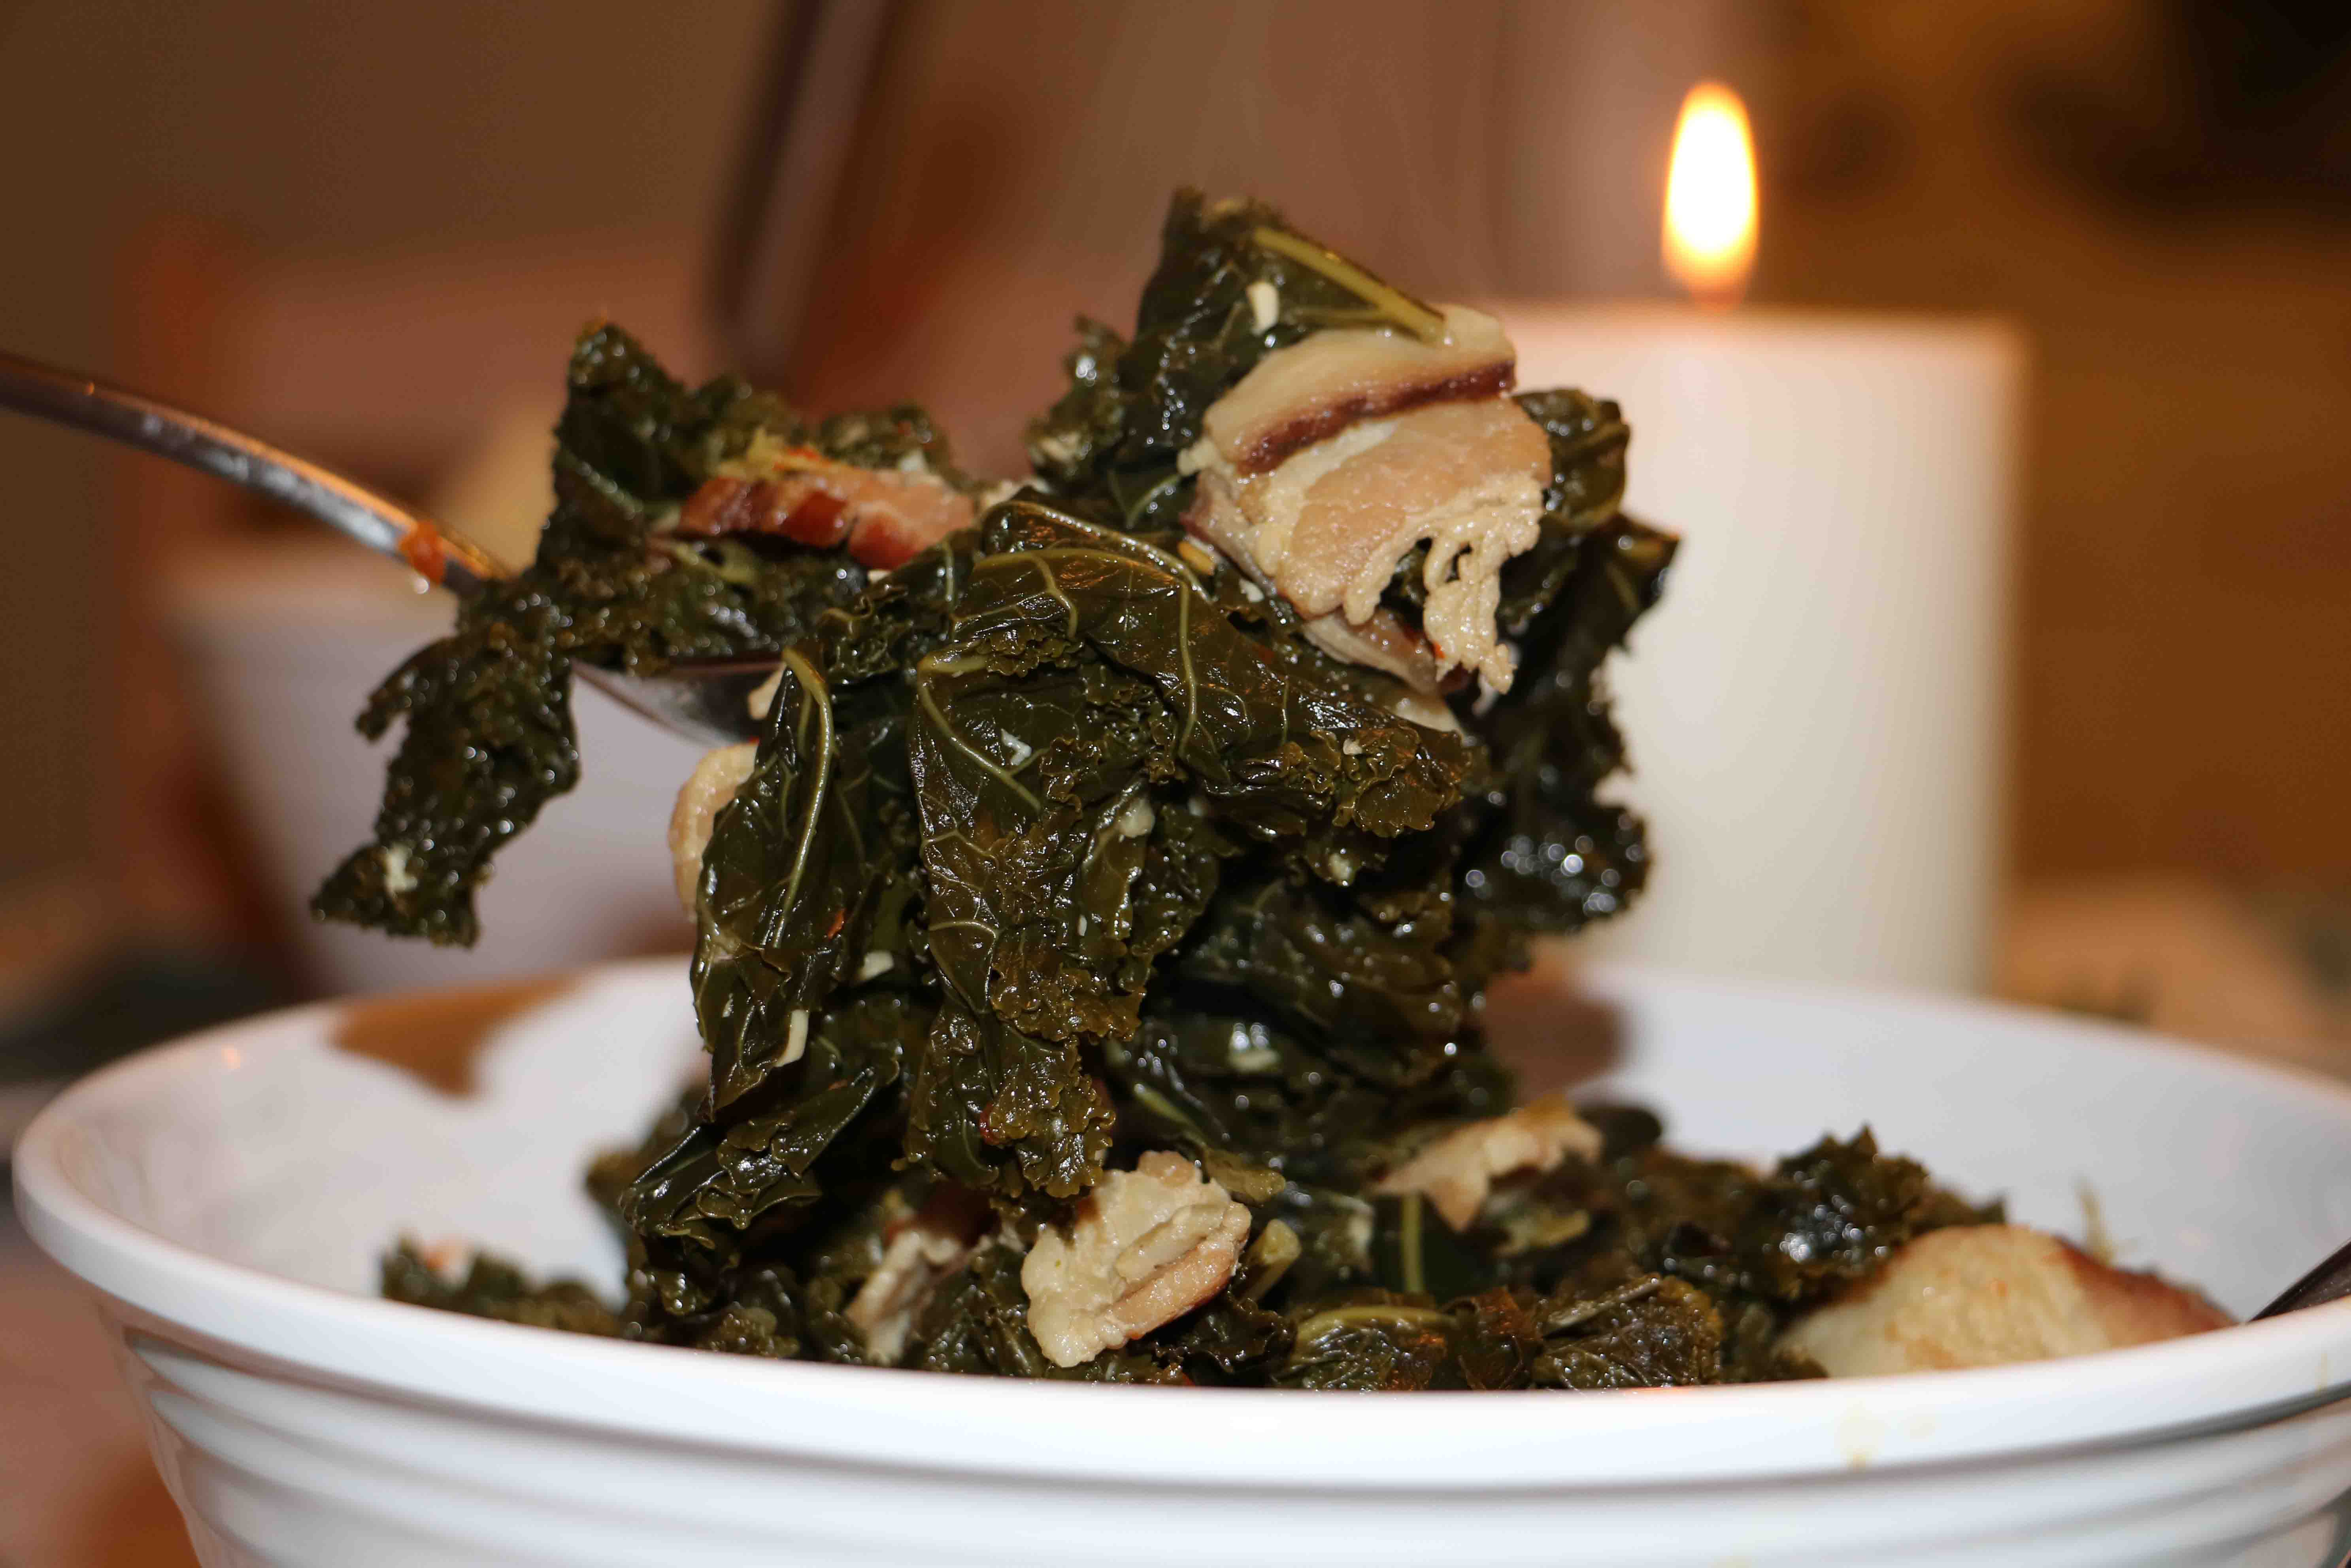
Southern Style Kale
Let’s be real, no one really likes kale. We either force ourselves to eat it in our salads, blend it into our smoothies, or use it as a garnish. But with this recipe, you’ll think twice about this leafy green and find that it can be made to taste absolutely delicious.
-2 pounds kale, stems removed
-6 slices thick cut bacon or 1/2 pound of pancetta or country ham, cut up into small strips
-2 cups water
-2 tablespoons red pepper flakes
-3 cloves of garlic, minced
-1 tablespoons olive oil
-5 quart sauce pan with lid
1. In a heated saucepan, pour 1 tablespoon of olive oil and heat until it starts to ripple, then add the minced garlic. Then add your bacon, ham or pancetta.
2. Once your bacon, ham or pancetta has started to crisp, start adding the kale in handfuls, stirring and coating the kale. Once the kale starts to shrink, add more kale and repeat until it is all in the pan.
3. After all of the kale is added, pour in the 2 cups water and 2 tablespoons red pepper flakes. Bring water to a simmer and cover with a lid for 10 minutes.
4. After 10 minutes, remove the lid and reduce the remaining liquid to almost nothing—about another 10 minutes.
5. Once the liquid is reduced, move the kale to a serving dish and enjoy!
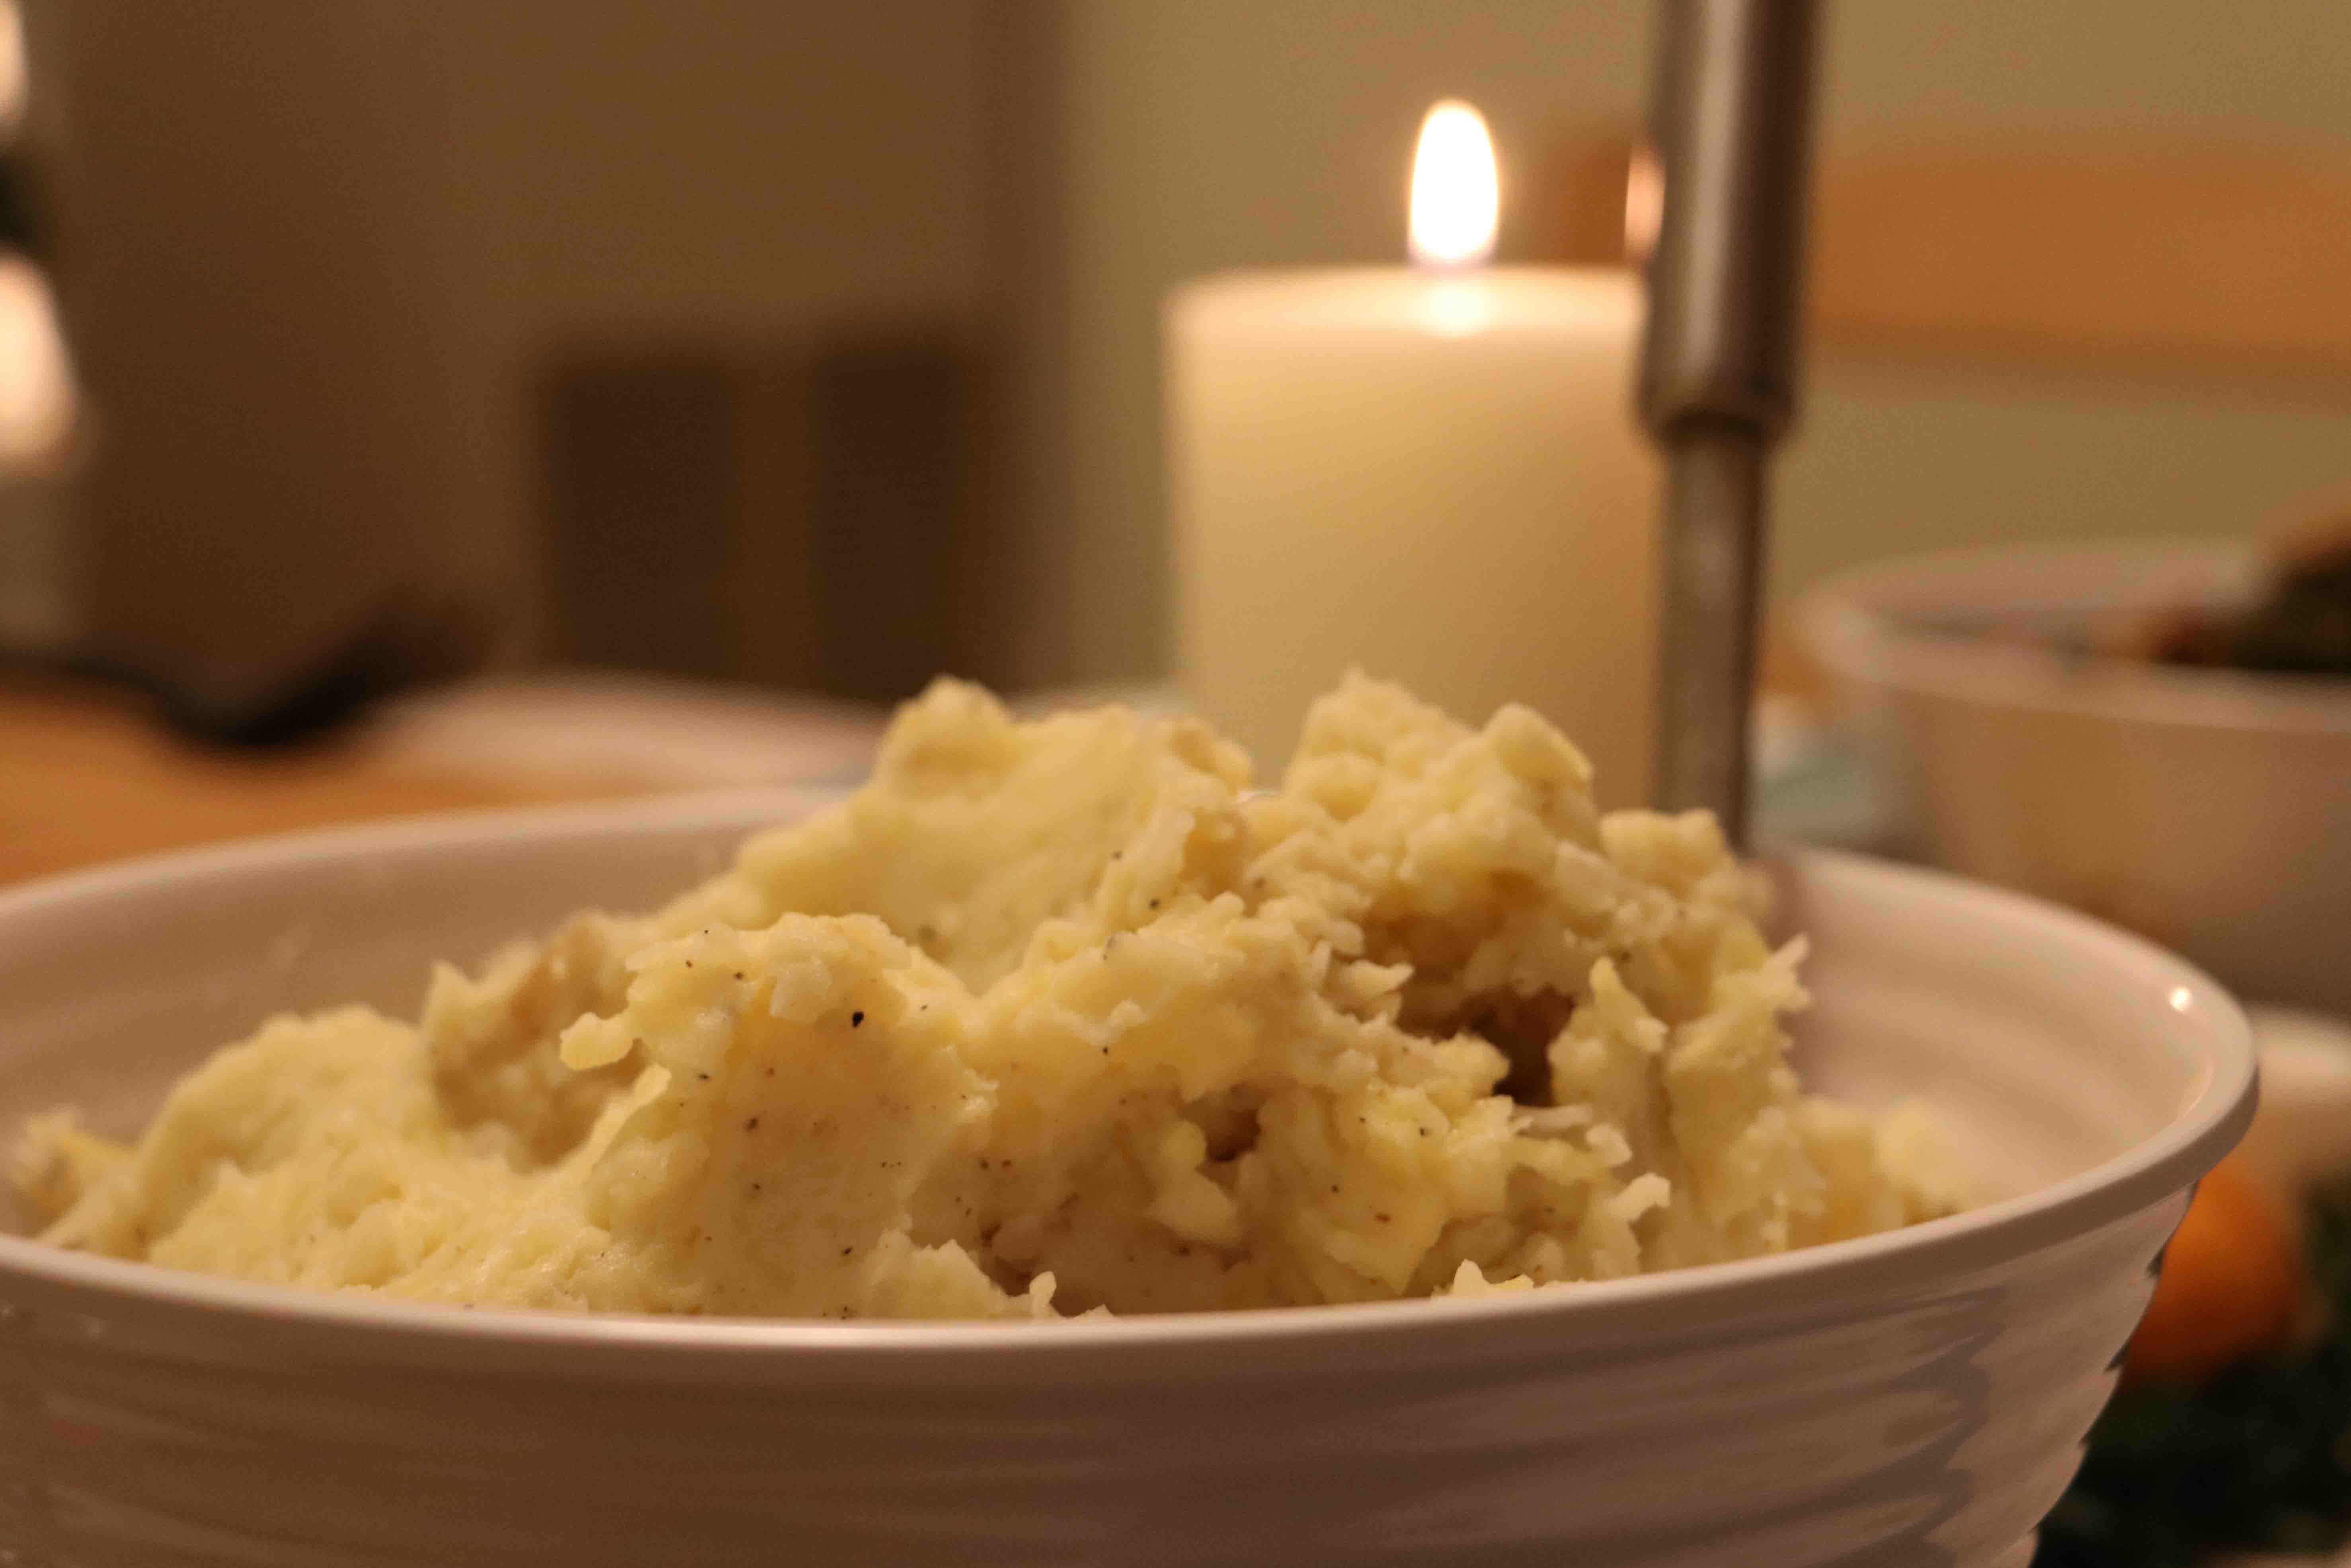
Creamy Garlic Mashed Potatoes
There is something to be said about tradition (I know, I said we were going to break from it, but hey, mashed potatoes are awesome!) These mashed taters are so good you won’t want to soil them with any gravy.
-3 pounds potatoes (2 pounds russet and 1 pound Yukon gold)
-16 ounces half-and-half
-1/2 stick unsalted butter
-6 crushed cloves of garlic
-Kosher salt
-Fresh ground black pepper
-1 quart low sodium chicken stock (optional)
-1/2 cup white cheddar
-5 quart Dutch oven or pot
-1 quart pan
-Colander
-1 potato masher
1. Peel the russets and cut into equal portions. You don’t have to peel the Yukon golds since their skin is much thinner and not as tough as the russets. Plus they add an extra bit of texture to the final product. Quarter the Yukon.
2. Place the potatoes into the pot or dutch oven and add enough water to just cover them. Add 1 tablespoon of salt to the water. If you’re using chicken stock, add the entire quart to the potatoes, then pour in enough water to just cover. Don’t add any salt.
3. Bring the pot to a roiling boil then reduce the heat to maintain a light boil. Continue for 20 minutes or until the potatoes are easily pierced with a fork.
4. While your pot is coming to a boil, pour the half-and-half into a separate pan and add the crushed garlic and half stick of butter. Bring this mixture to a slight simmer then set aside.
5. Once your potatoes are easily pierced with a fork, dump them into a colander to drain out the liquid then add them back into the pot. Do not place the pot back onto the burner.
6. Add your half-and-half mixture (leaving out about 1/4 cup) and mash the potatoes to your preferred consistency, but don’t overwork them. If your potatoes appear too dry, add the remaining mixture and incorporate it into the mash. Season with salt and pepper to taste.
7. Move your mash to your favorite serving bowl and enjoy the creamy goodness.
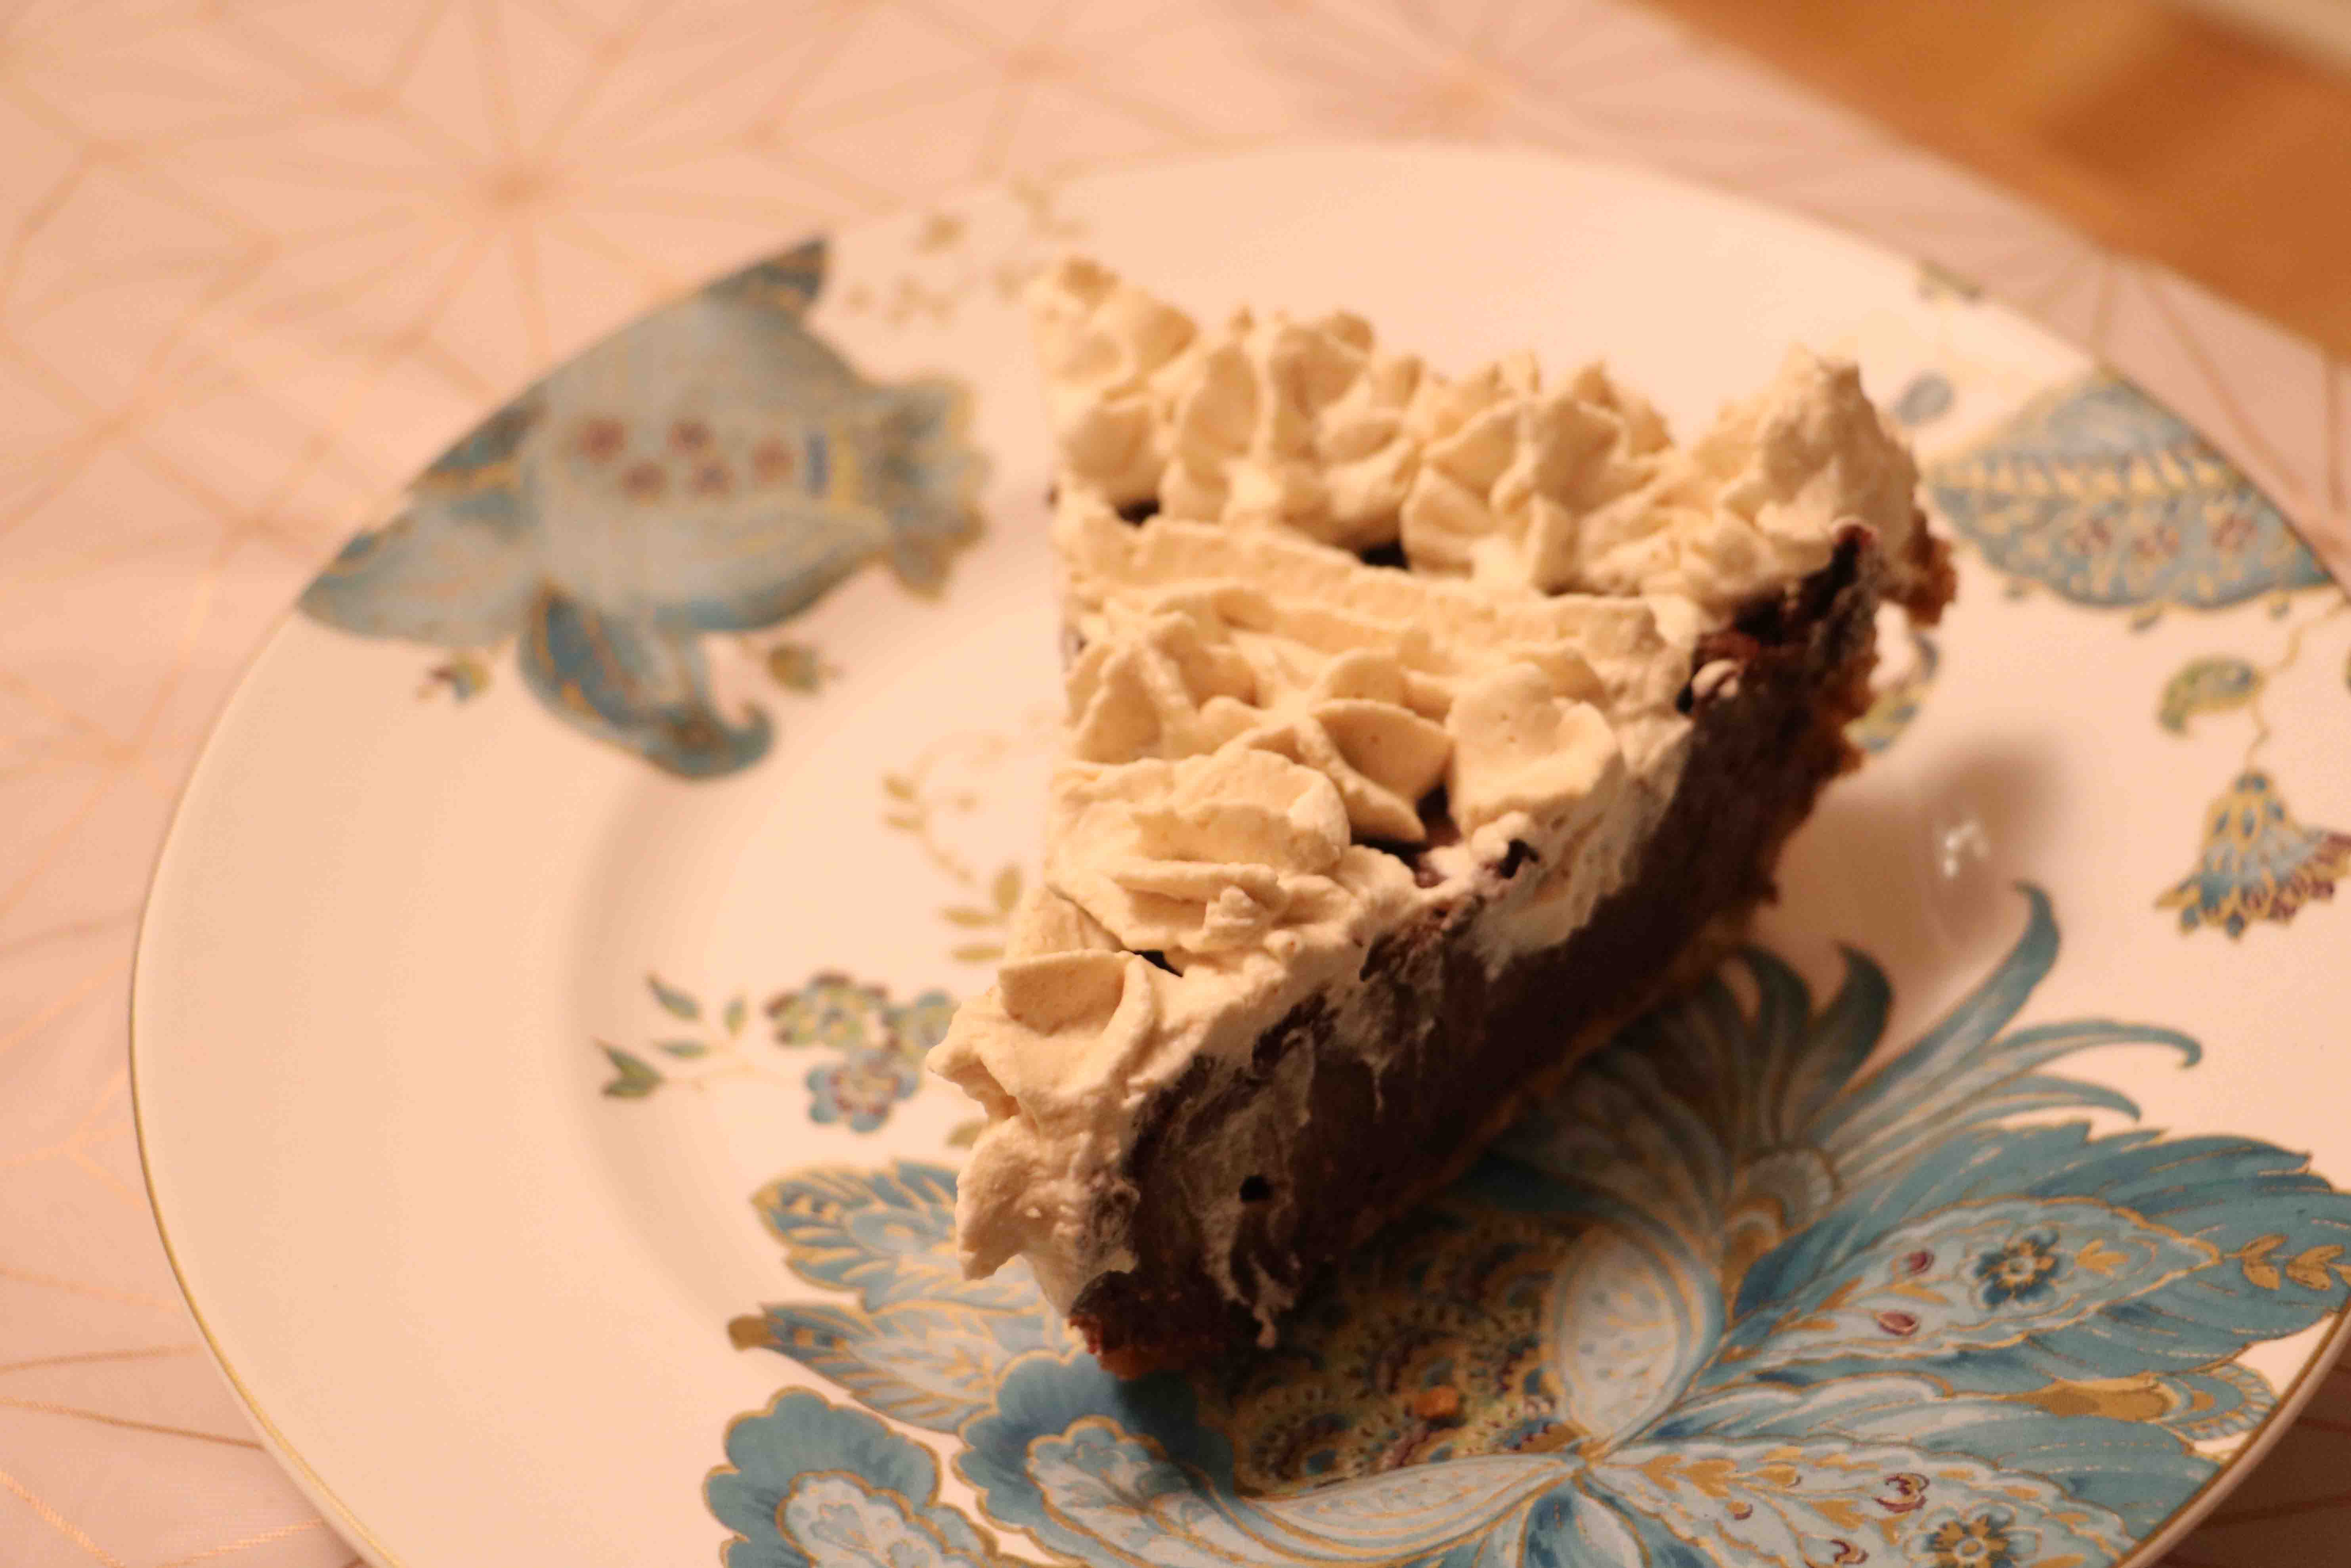
Chocolate Espresso Pie (with biscotti crust)
I know that pumpkin or sweet potato pie are usually served as dessert for holiday get-togethers, but again, we’re breaking from tradition here, come on! This chocolatey dessert will hit all the right notes to end the night. Make this dessert the night before or early in the morning of your festive get-together.
Pie filling:
-1 1/2 cups milk
-1/3 cup cornstarch
-3/4 cup sugar
-1/2 teaspoon salt
-1 teaspoon instant espresso powder
-3 large egg yolks
-1 teaspoon vanilla extract
-4 ounces semisweet chocolate
-4 ounces bittersweet chocolate
-4 ounces milk chocolate
Espresso Whipped Cream (or if you can find it, you can use store bought):
-1 1/2 cups heavy whipping cream
-2 teaspoons heavy whipping cream
-2 teaspoons instant espresso powder
-6 tablespoons powdered sugar
Pie crust:
-16–18 biscotti (store-bought or home-made)
-1/4 cup sugar
-1 stick melted butter
Pie pan
-Mixing bowls (one chilled)
-3 quart saucepan
-Plastic wrap
1. In a food processor, pulse the biscotti until they become a fine crumb. Then move to a large mixing bowl. Preheat the oven 325 degrees F.
Mix the biscotti crumb, melted butter and sugar together until combined.
2. Pour the biscotti mixture into a pie pan and press down so it forms a thin layer in the pan. Use the back of a spoon to help push the mixture up the sides of the pan.
3. Place the pie pan in the preheated oven and bake for about 10–15 minutes or until the mixture is dry and golden brown. Let cool.
4. In a small bowl, whisk together 1 cup of milk and 1/3 cup cornstarch.
5. In a saucepan, pour 1/2 cup of milk and add sugar and salt. Cook over low heat, frequently stirring, until sugar has dissolved. Whisk in the instant espresso and milk/cornstarch mixture. Over medium-high heat, stir the mixture until it thickens. This will take about 5 minutes. Reduce the heat to medium-low.
6. In a separate bowl, place three large egg yolks. Whisk 1/2 cup of the heated cornstarch mixture into the egg yolks then whisk this mixture back into the saucepan. Whisk the mixture for another 5 minutes or until it thickens further.
7. Remove from the heat and whisk in the vanilla extract and chocolate until everything is incorporated.
8. Pour the pie filling into the cooled pie crust and place a piece of plastic wrap directly on the filling. This will prevent the pie filling from forming a skin. Let the pie sit on the counter for at least 1 hour then move it to the fridge for at least 6 hours to rest.
9. While your pie is resting, make your whipped cream. Heat 2 teaspoons of heavy whipping cream in a small bowl in the microwave for 20 seconds. Stir the teaspoon of instant espresso into the heated cream.
10. Grab your chilled bowl from the fridge or freezer and pour in the 1 1/2 cups whipping cream. Using the whisk attachment of either a stand mixer or hand mixer, start whisking the cream at medium-high speed.
11. Incorporate the powdered sugar one tablespoon at a time and add the espresso cream mixture. Whip the cream until you see medium-firm peaks. Place plastic wrap onto the whip cream and place the bowl into the fridge until needed.
12. Once the pies are completely chilled and set, either spread or pipe the whipped cream onto the pie. Slice and serve.